Lesson 10: American Realism
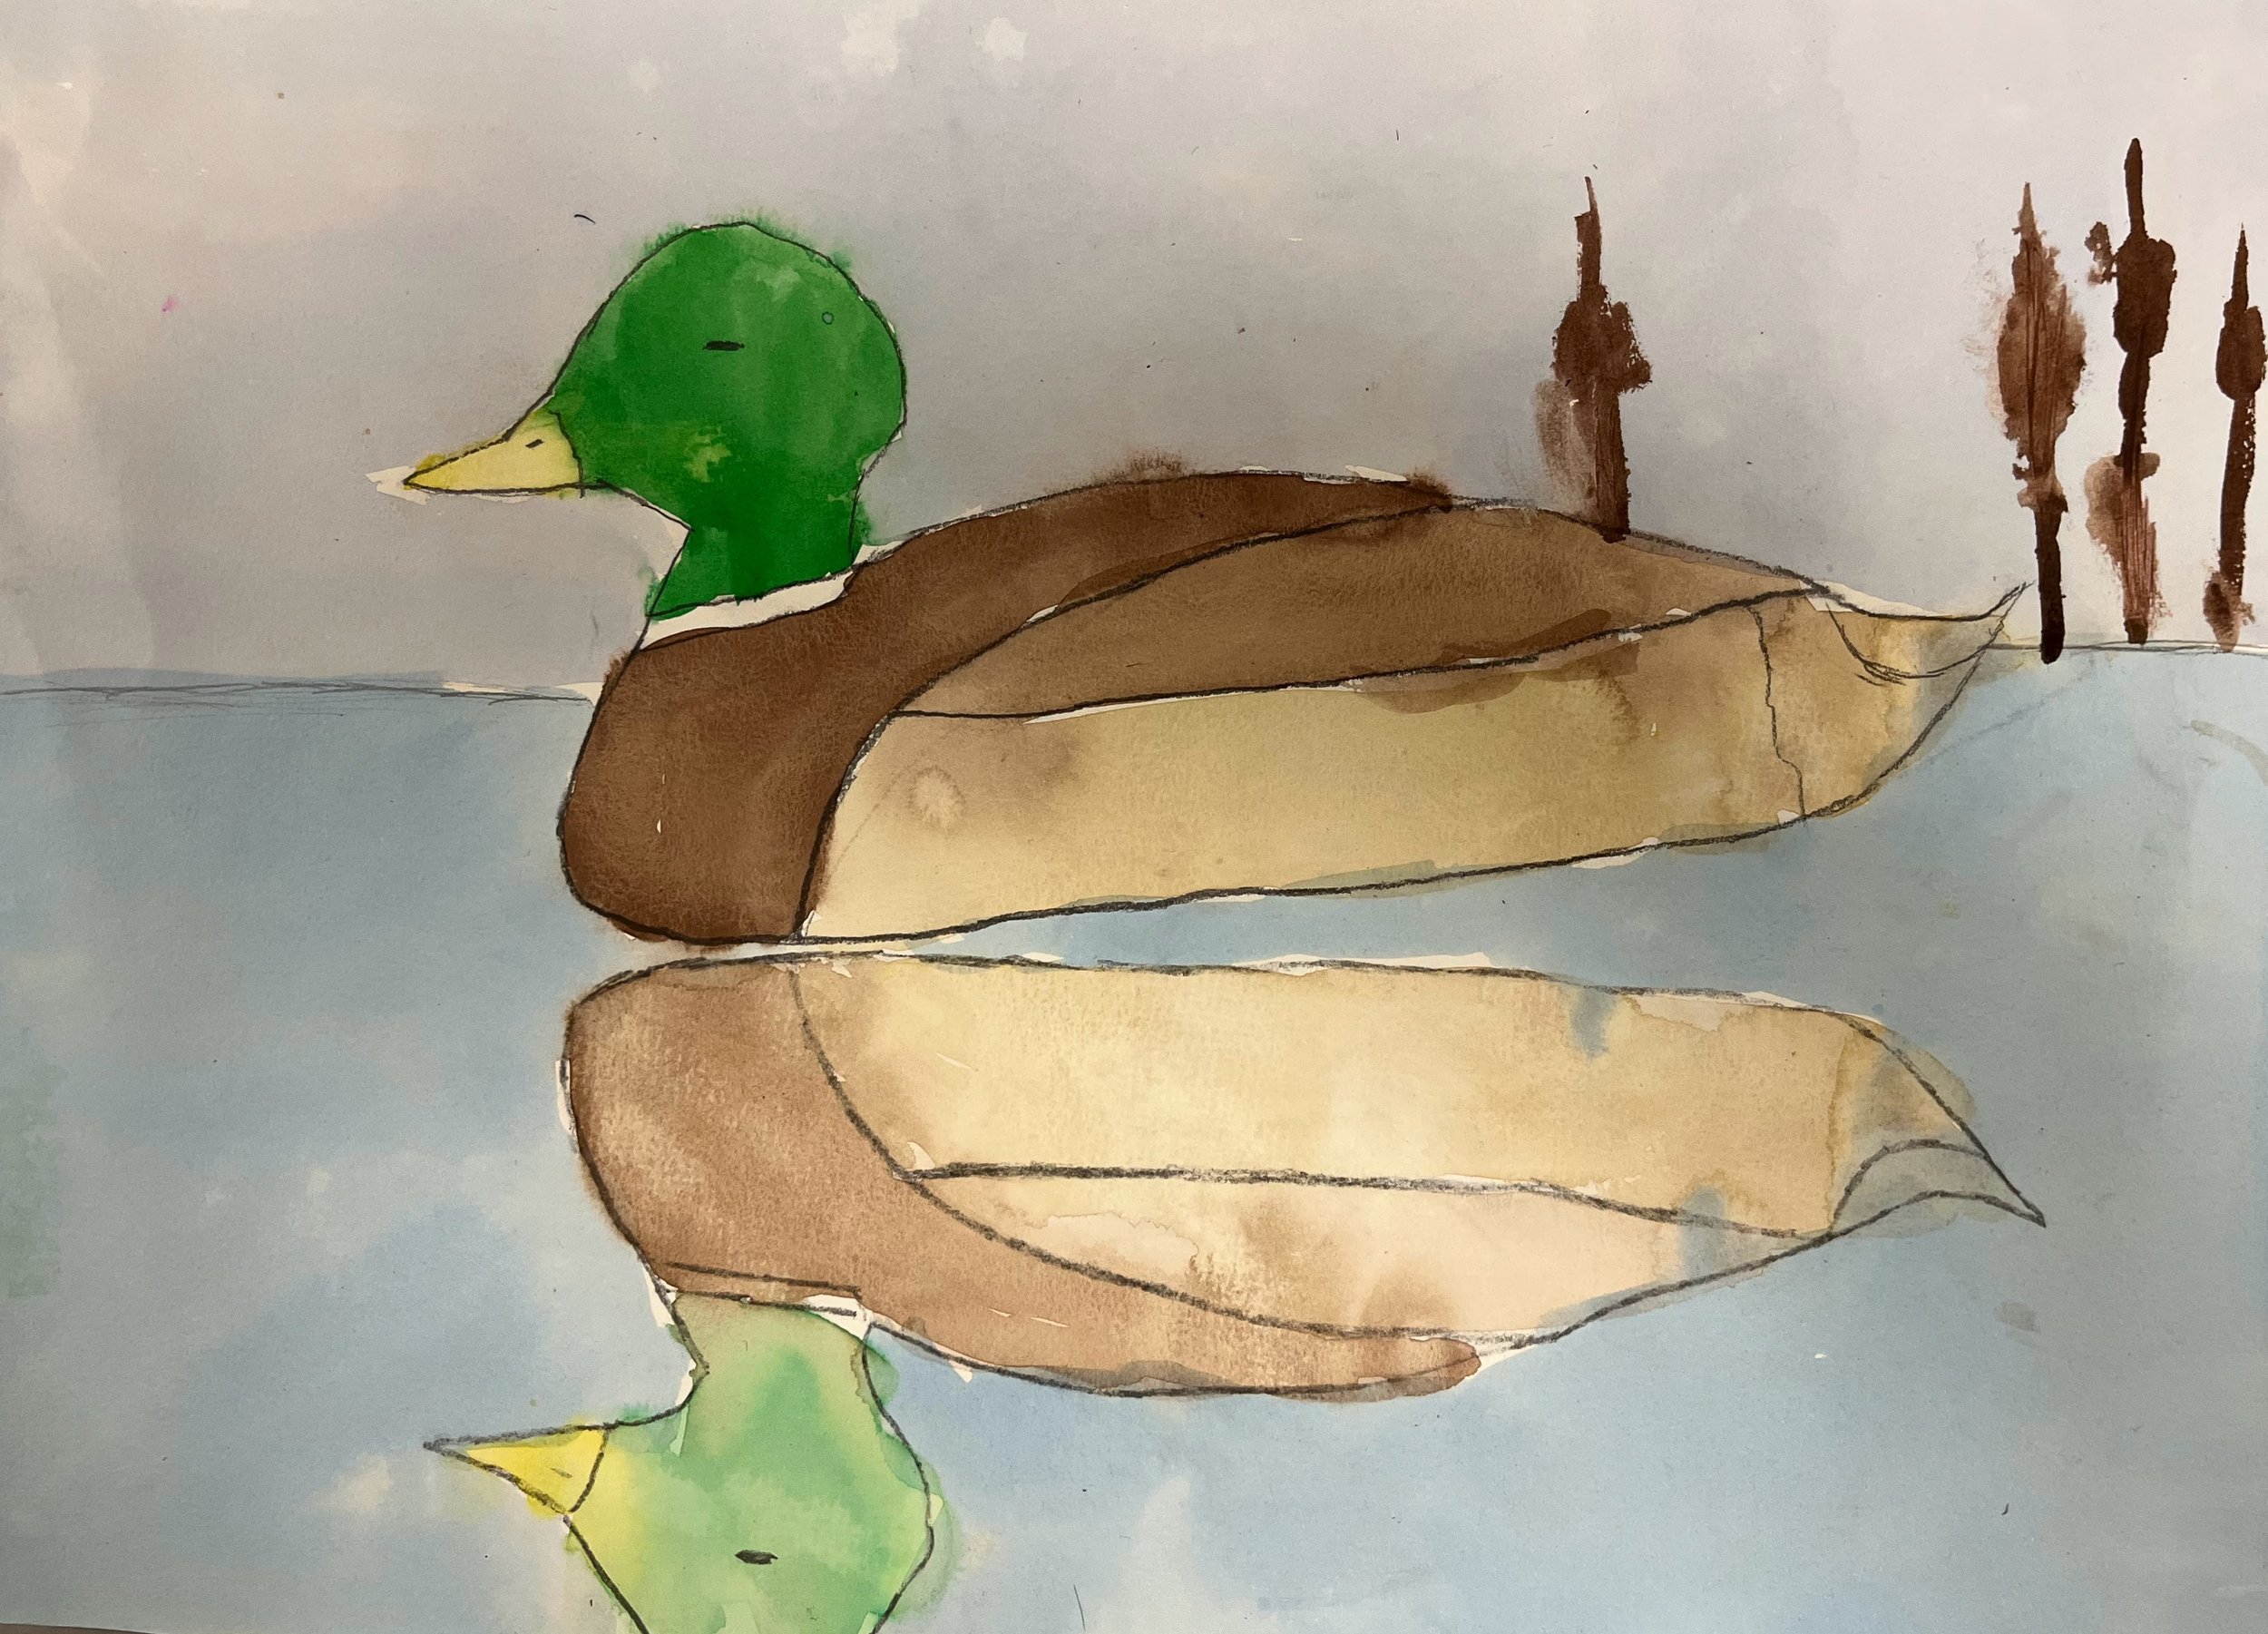
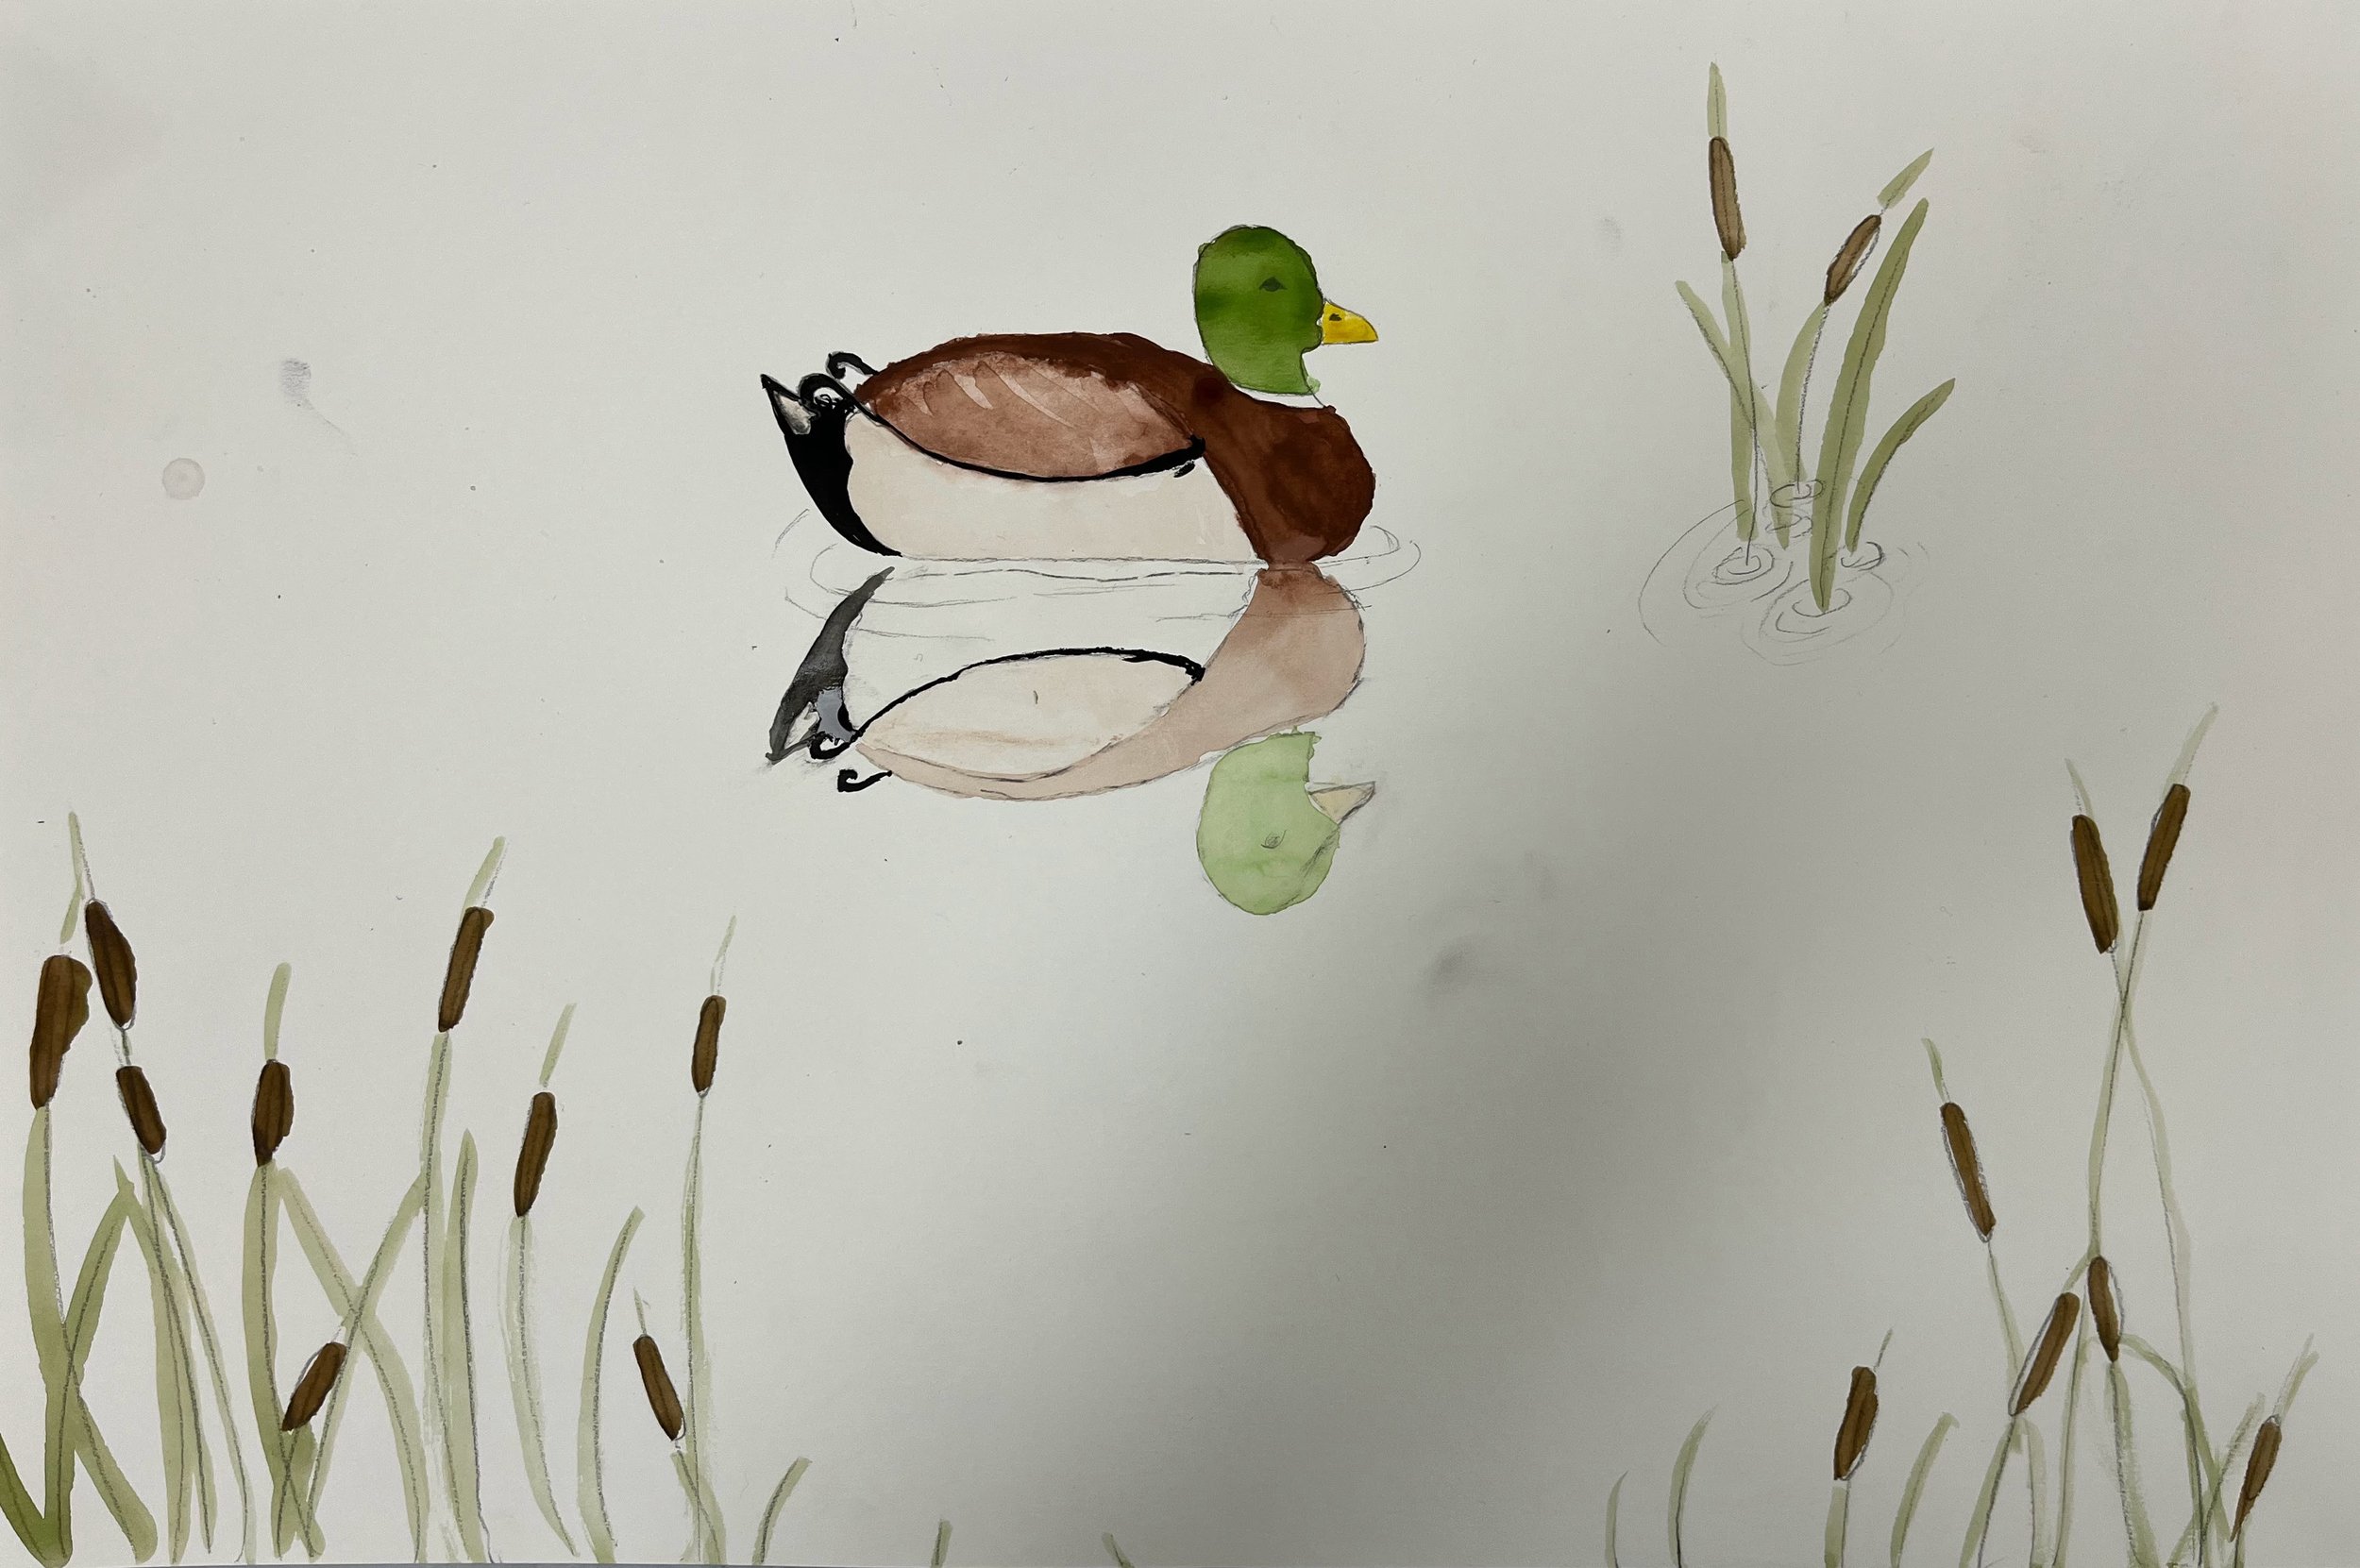
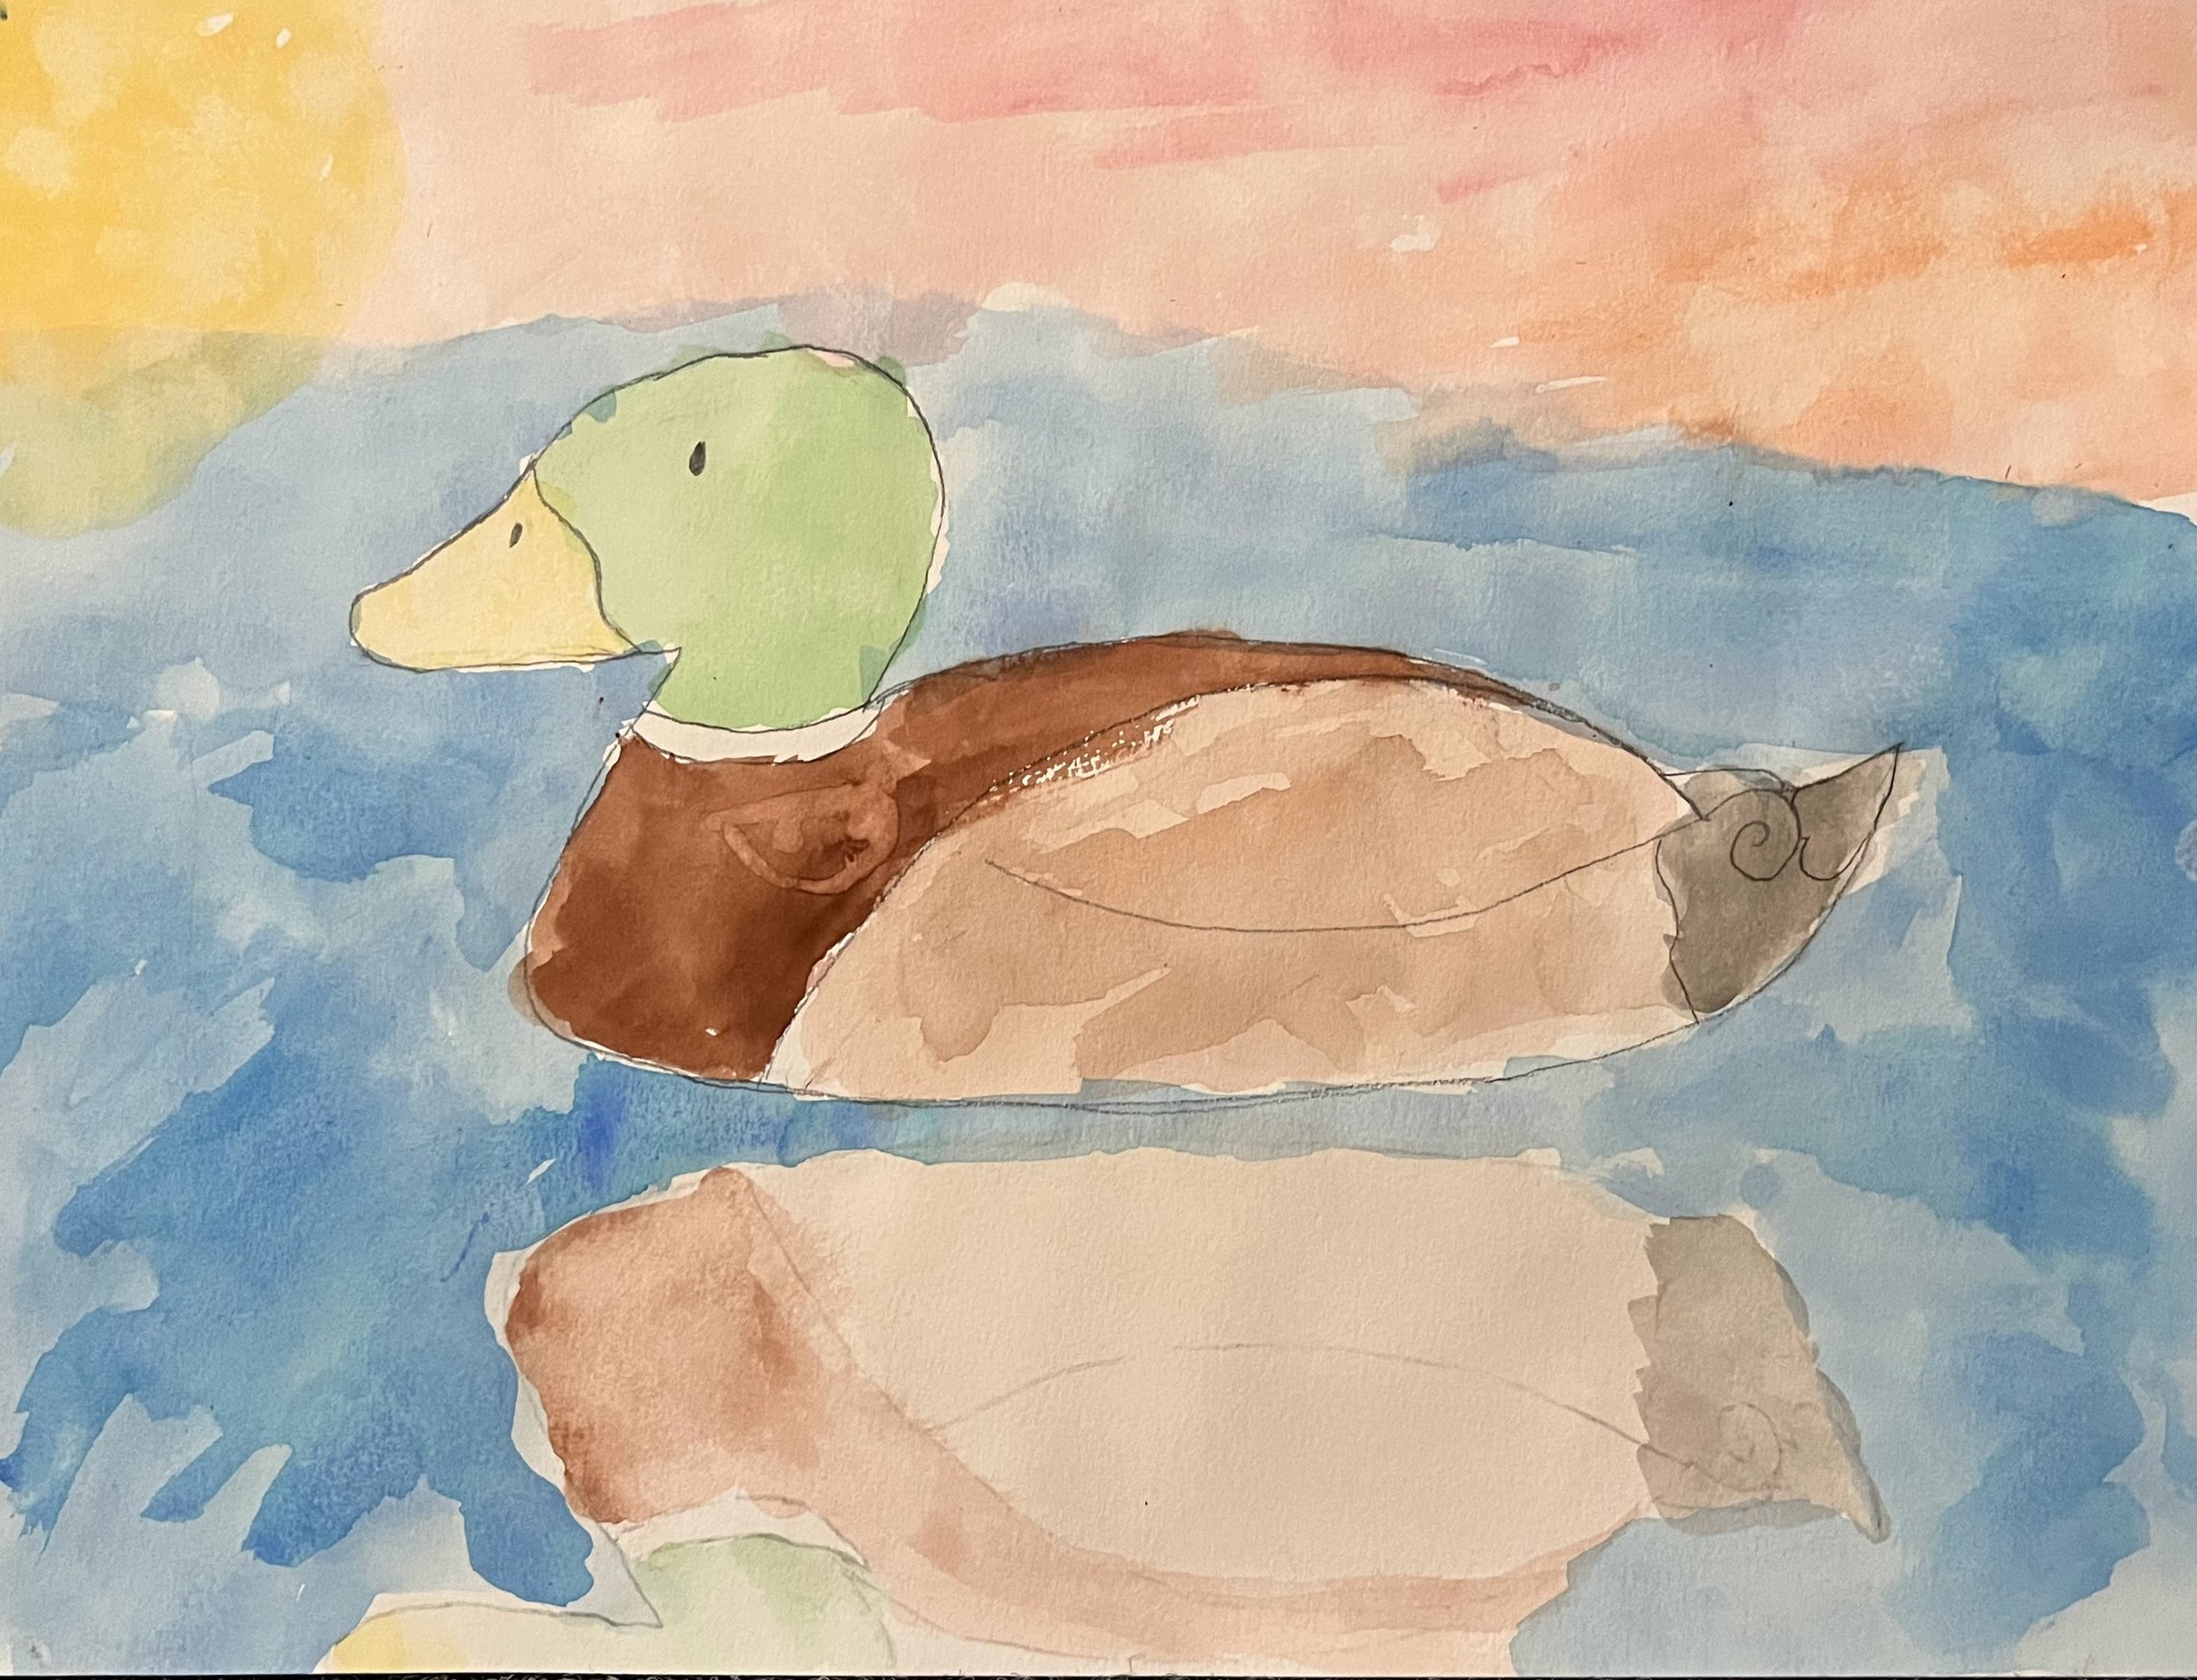
Mallard with Reflection
Realism really took off with a group of American artists in the mid 1800’s, though it began in Europe. This became known as the Hudson River School. Based in New York, it was the first truly American art movement. The focus was on the incredible beauty of the American landscape and people.
Realism is just how it sounds – it’s realistic, and also it moves away from the emotional intensity of Romanticism. These artists weren’t trying to make a political statement or have a lot of deep meaning in their art. They were just appreciating the beauty of how things really look whether they were people or nature or animals.
For our project today, we are looking at this beautiful painting by George Caleb Bingham. We are going to complete a line drawing of a mallard with a reflection. The way to create the reflection is to use the same shade of paint, but making it much more watery, which makes it lighter.
First, you will copy the mallard line drawing. Then lightly draw it on your good watercolor paper. Next take a piece of tracing paper or regular practice paper and trace your mallard. Flip it over and scribble on the back. You will be amazed that the scribbling transfers the design onto your paper as a reflection. I call this the “trace, flip and scribble method.”
Make sure to paint each section of the mallard along with its reflection at the same time, vs. painting the whole bird at one time. For example, create a shade of green in the lid, paint the head, lighten the green in the lid by adding water, then paint the light green in the reflection. You will make each color lighter by adding water in the lid.
Note to parents: The “trace, flip, and scribble method” is really simple once you get the hang of it. If it’s hard to see through the paper, hold both pieces onto a window. Trace the mallard. Flip the paper over. Scribble on the back of the paper where the lines are. The pressure will transfer the pencil onto the good paper.
Observe George Caleb Bingham’s painting.

Observe the mallard with a reflection in the water.

Step 1 ~ Gather
Pencil and eraser
Practice paper (or tracing paper if you have it)
Watercolor paper
Watercolor paint tray
Optional : Colored pencils
Brush, water, paper towels
Step 2 ~Print
Print the warm ups, then complete them after you watch the teaching video. The warm ups give you shapes to copy and ideas to use in your piece.
Step 3 ~ Create!
Watch the teaching video below.
Have fun creating your own mallard with reflection in watercolor.
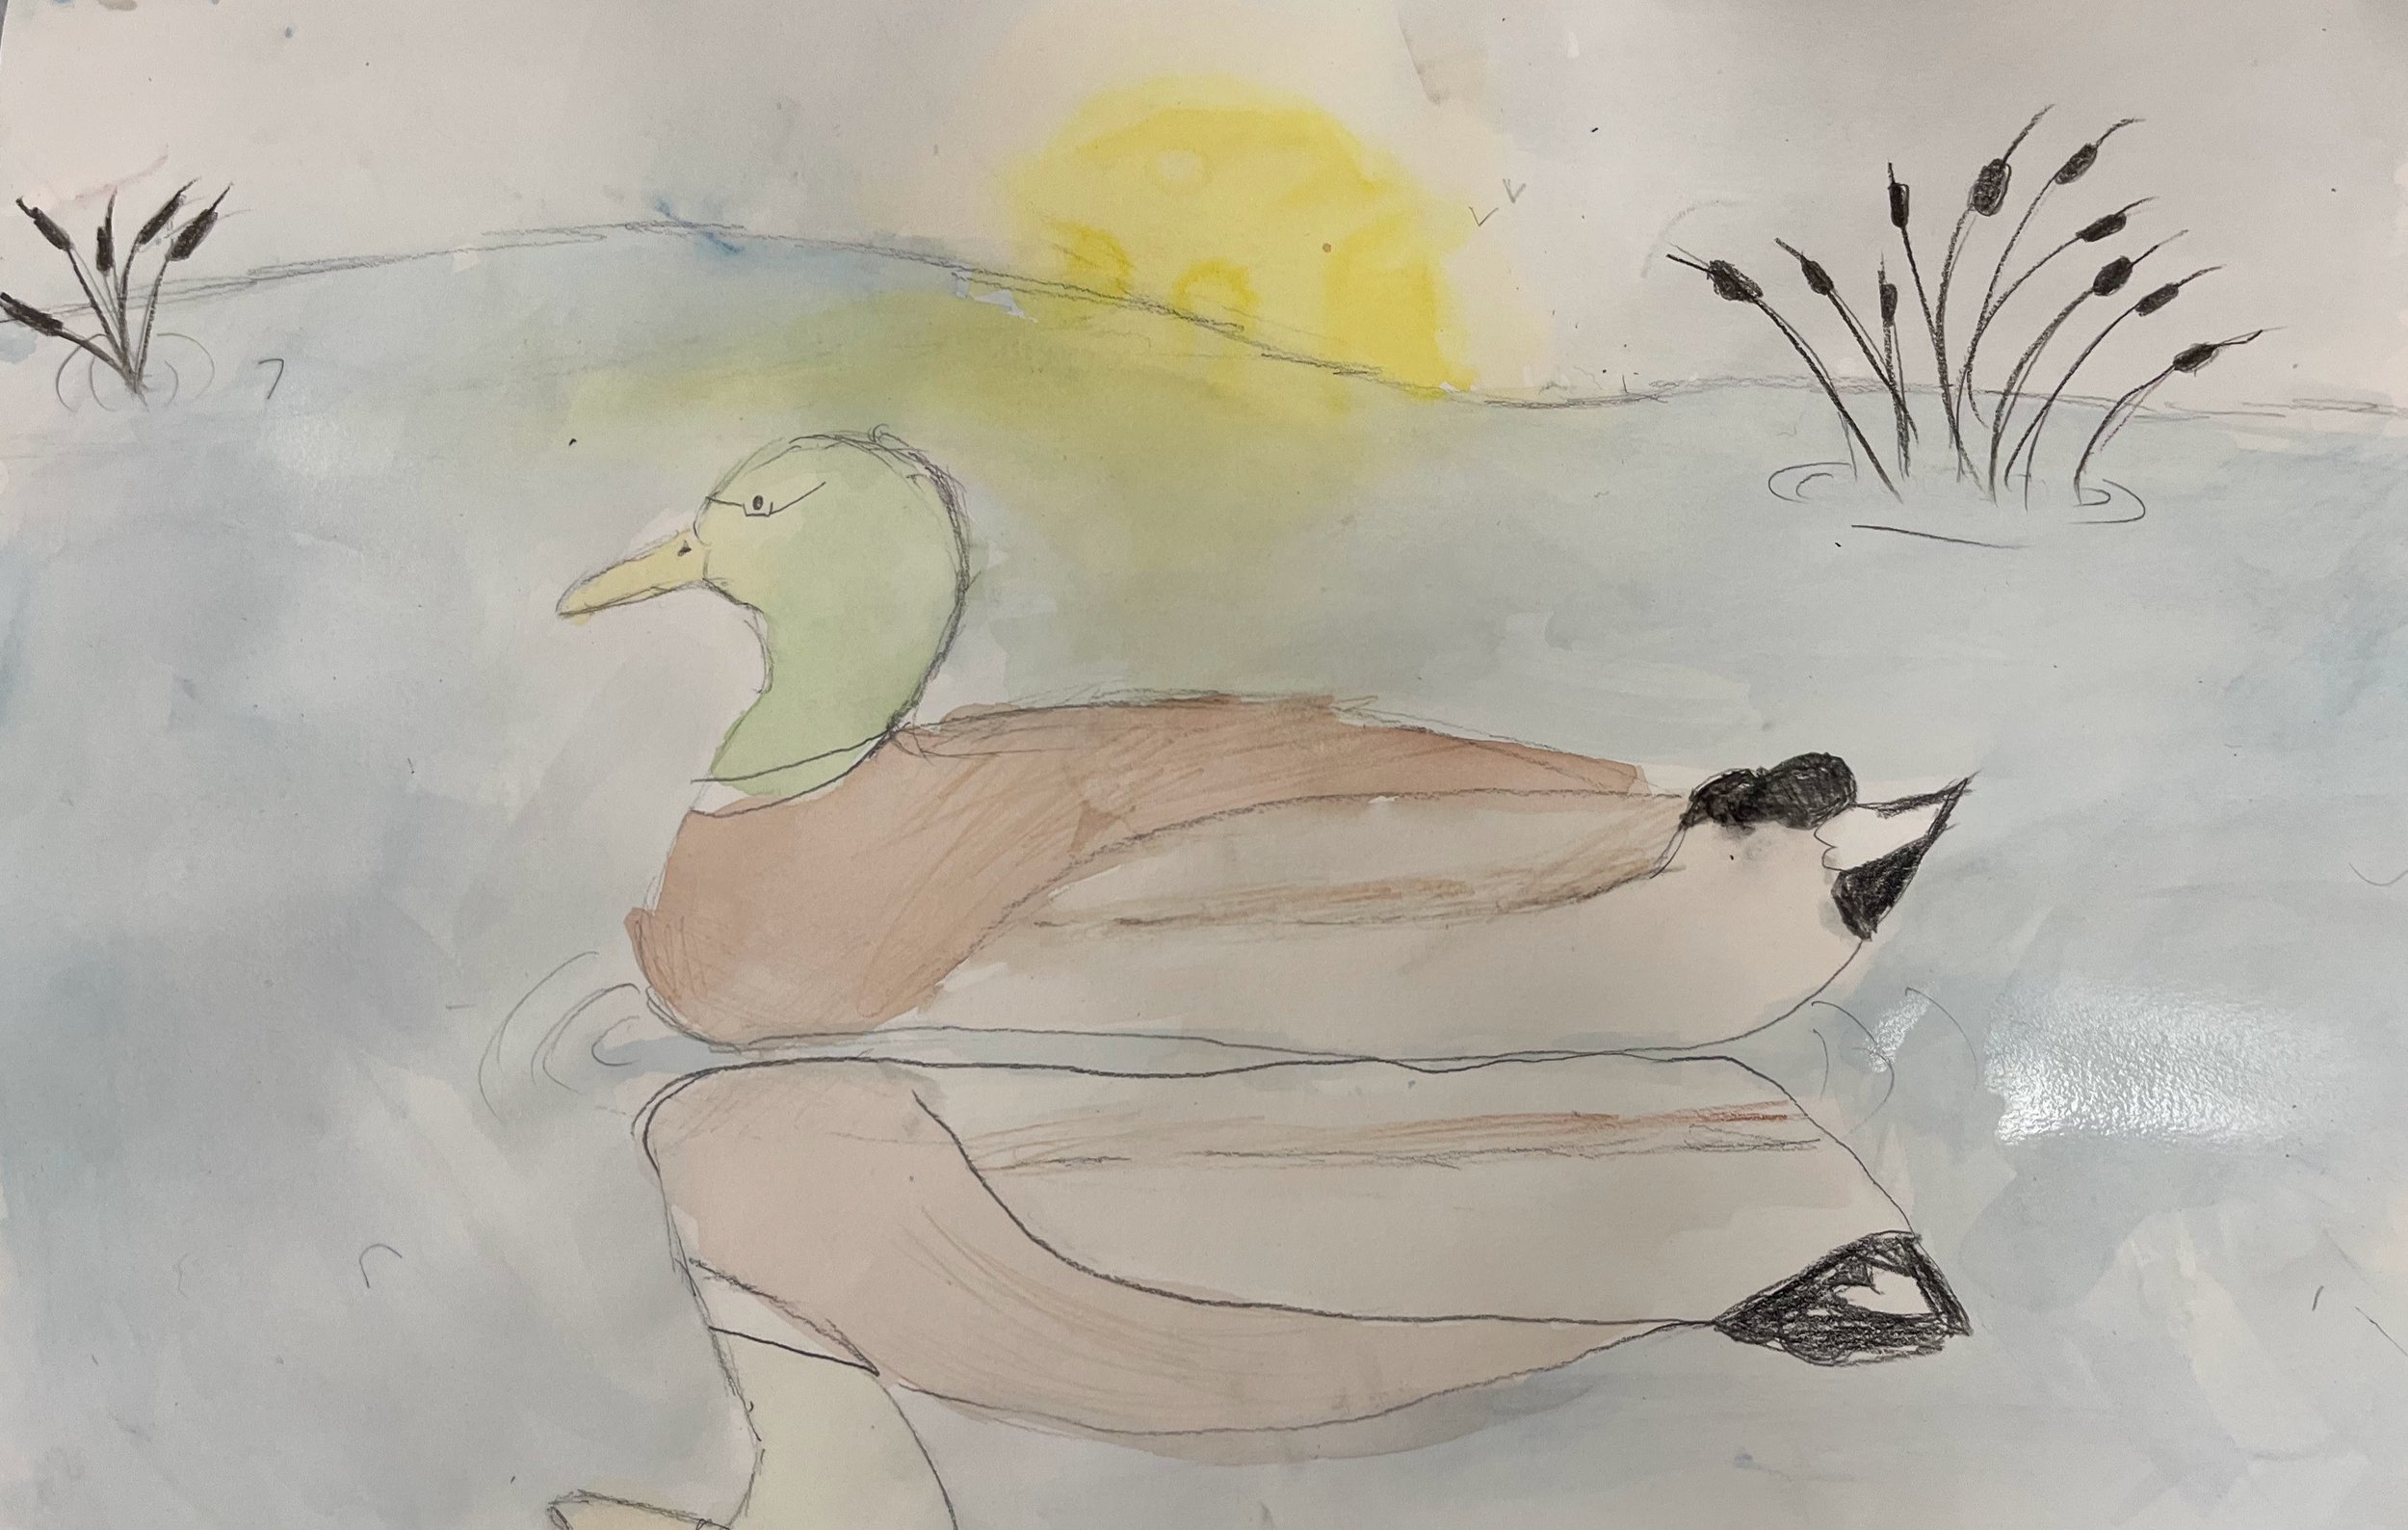
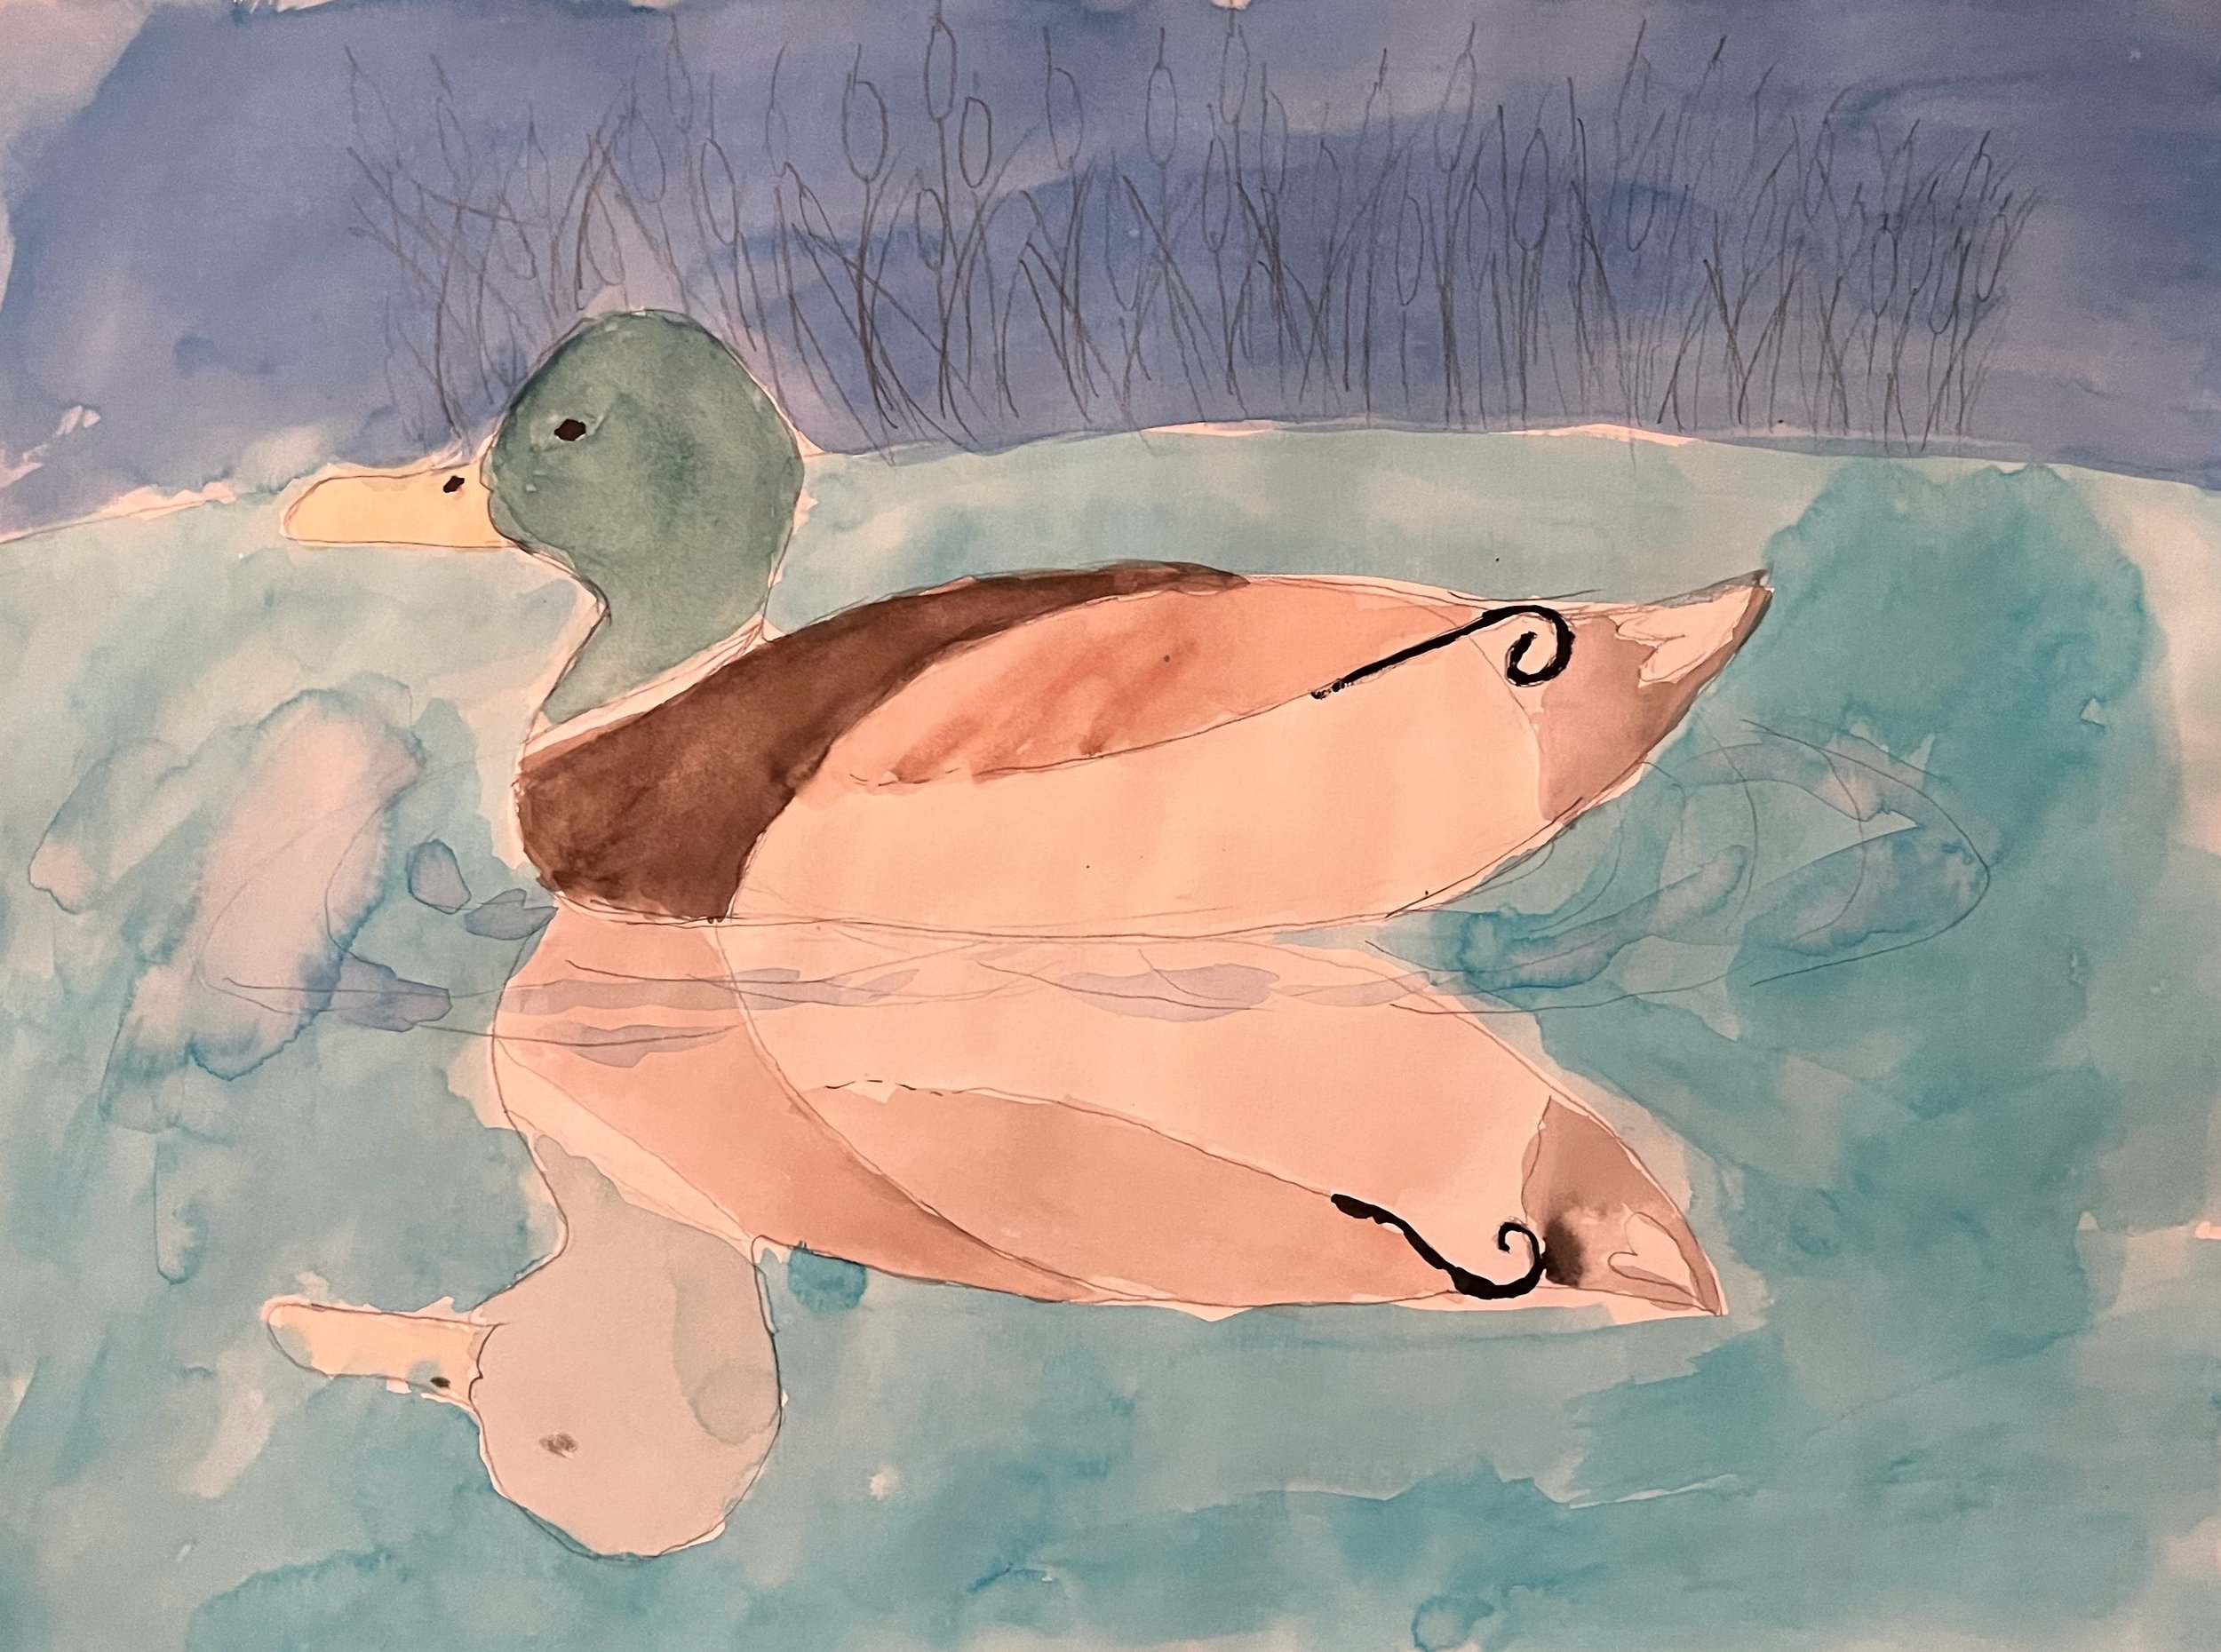
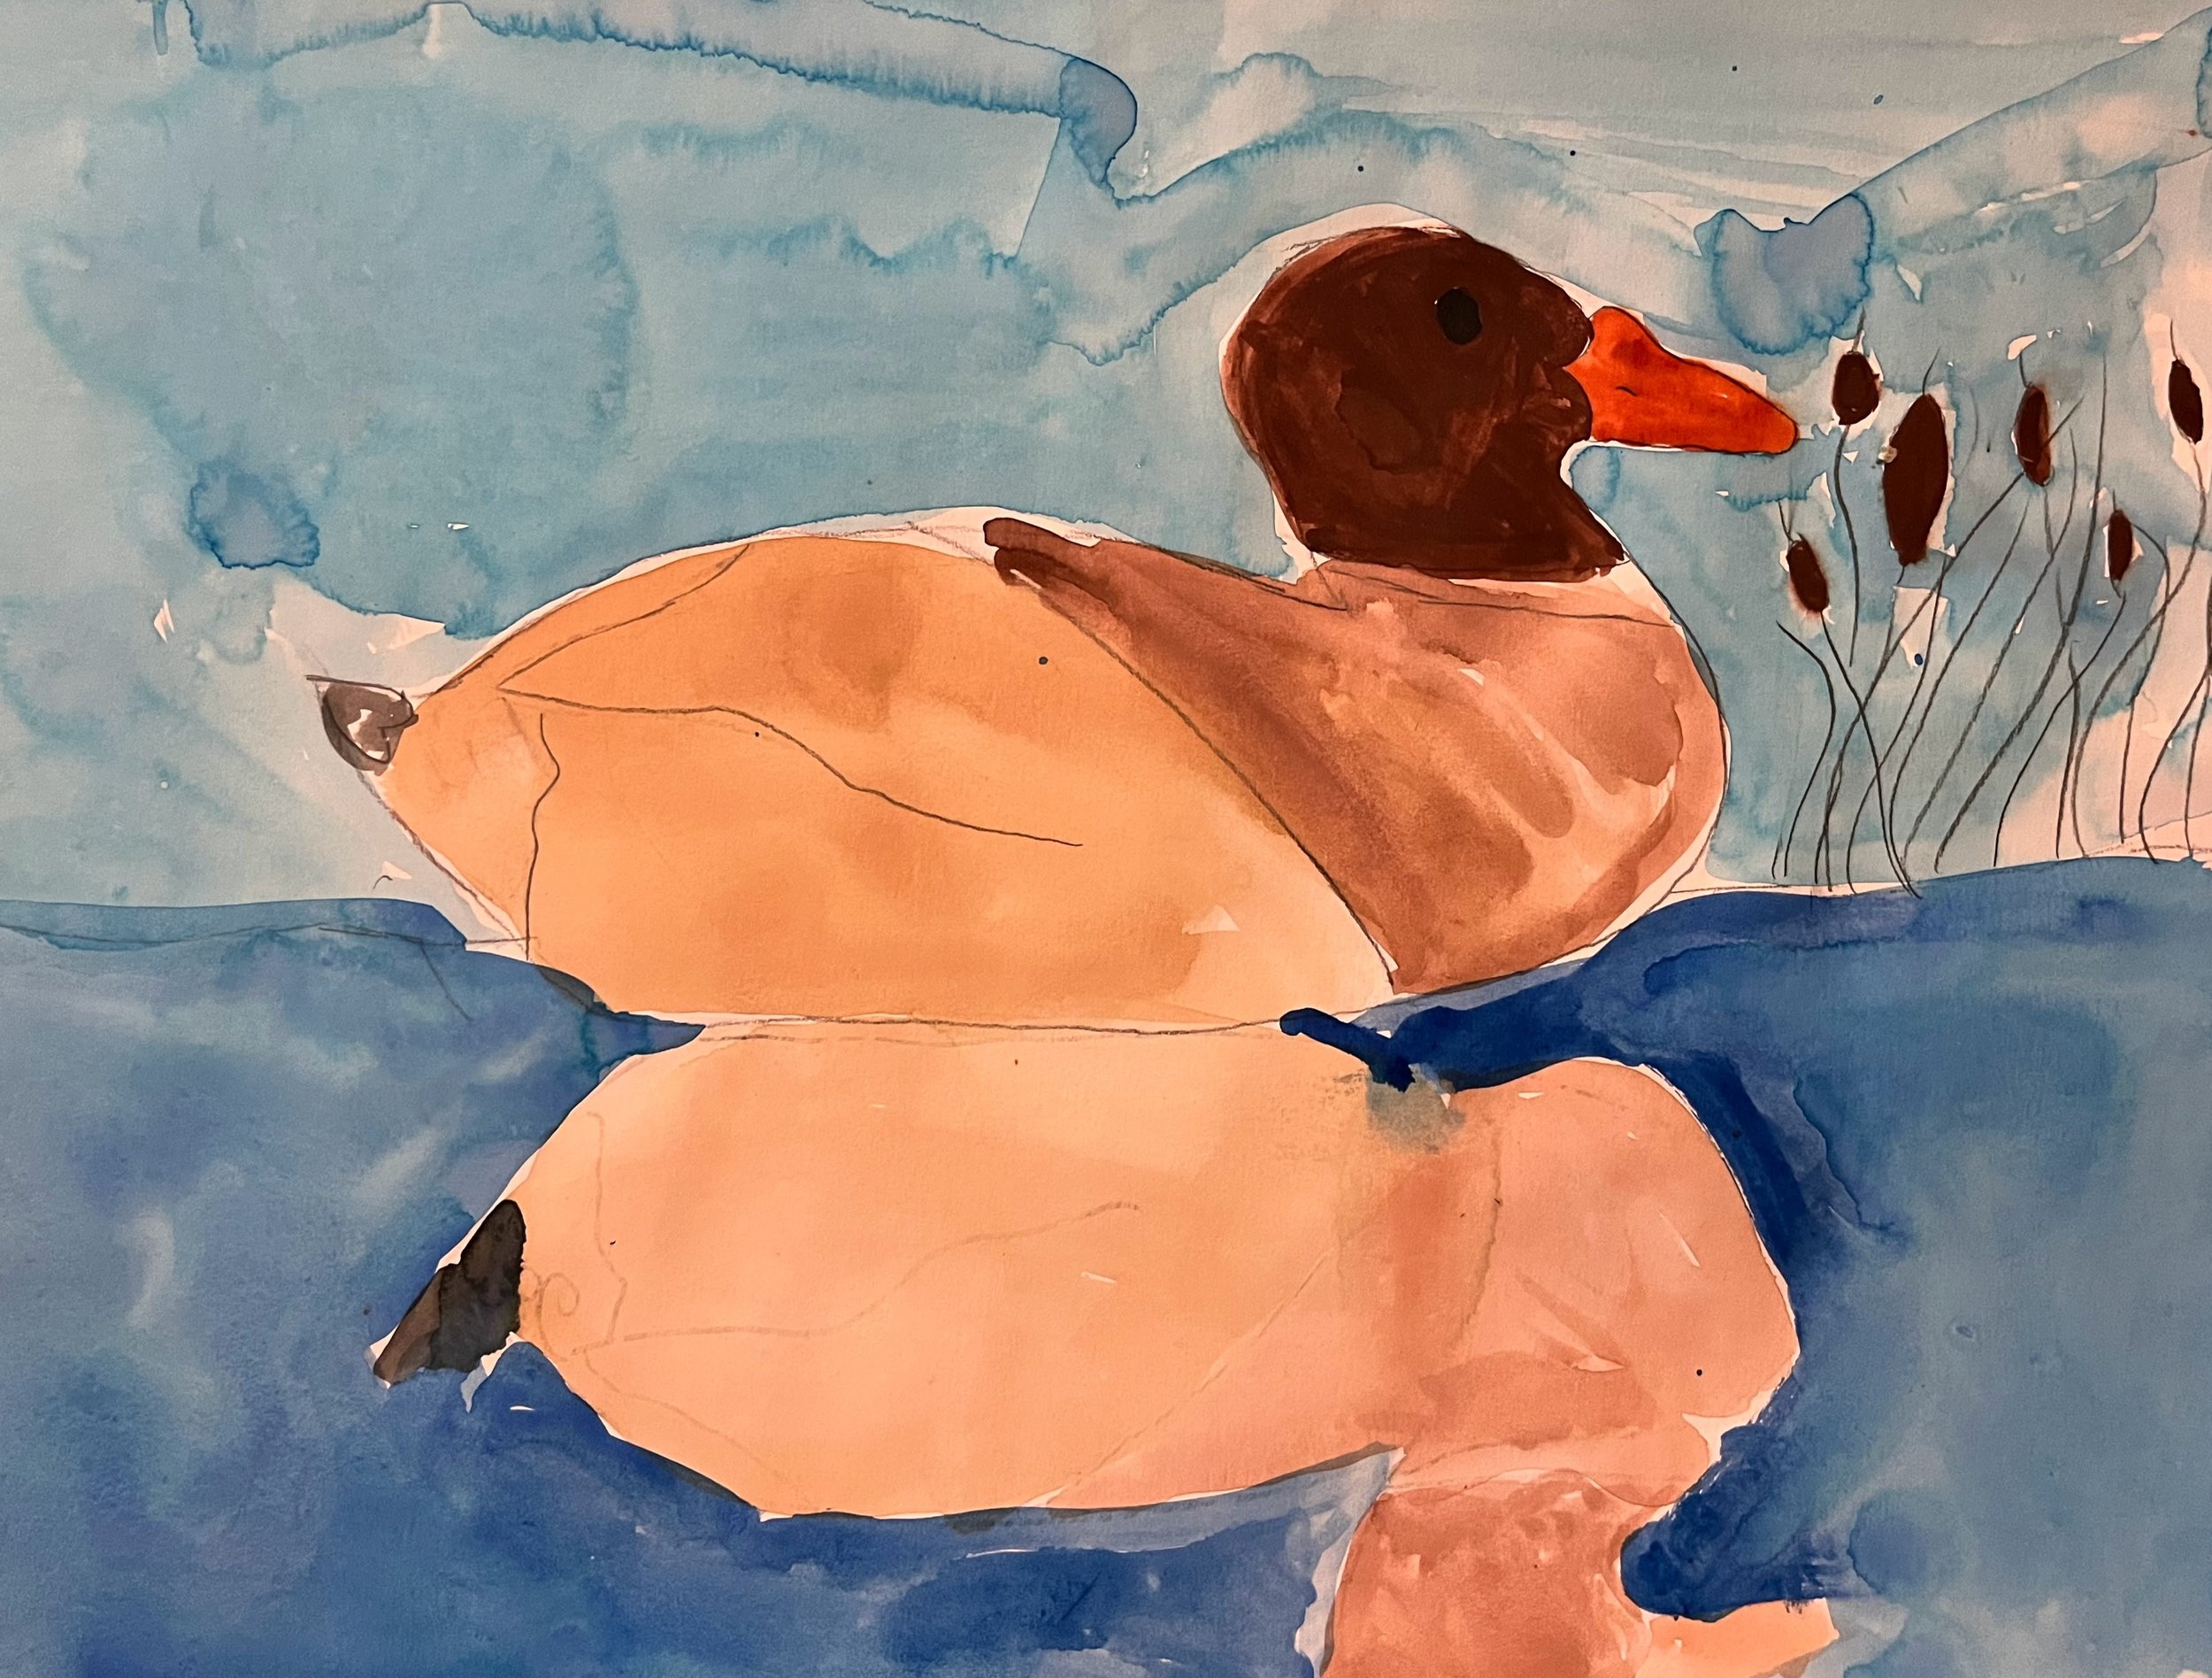
Student Examples